Deutsch
  España
  Francais
  Polish
  Russian
  Čeština
  Greek
Greek  Lithuania
  Romanian
  Arabic
  Português
  Indonesian
  Croatian
  Serbia
  Farsi
Farsi  Hebrew
  Mongolian
  Bulgarian
  Georgia
  Azerbaijani
  Thai
Thai  Turkish
  Magyar
 How to create an Inventory Record in the Library module.
Library, Inventory


To perform an inventory check of the physical items in your library use the “Inventories” tab in the main menu.
After selecting the tab, the list of existing inventory records will appear, showing the date of creation, date of last update and the number of inventoried items in each list. Inventory records are identified by their creation date.
You can create, close, open, view, print or delete any of the inventory records.
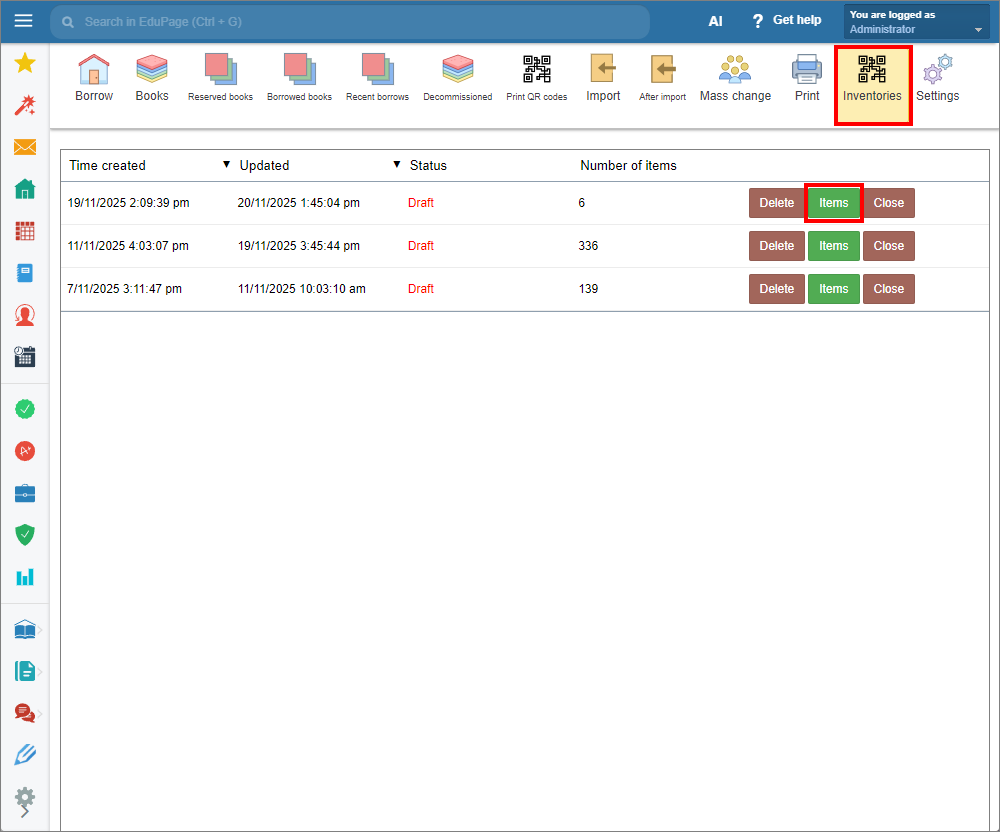
Select “Items” to display the list of items with more detailed information.
If the book item that has already been recorded in the list is later decommissioned or deleted, it will remain in the inventory record with information about its status.This information will be displayed even after the inventory record is closed.
You can remove any item from the record by clicking the “Remove” button.
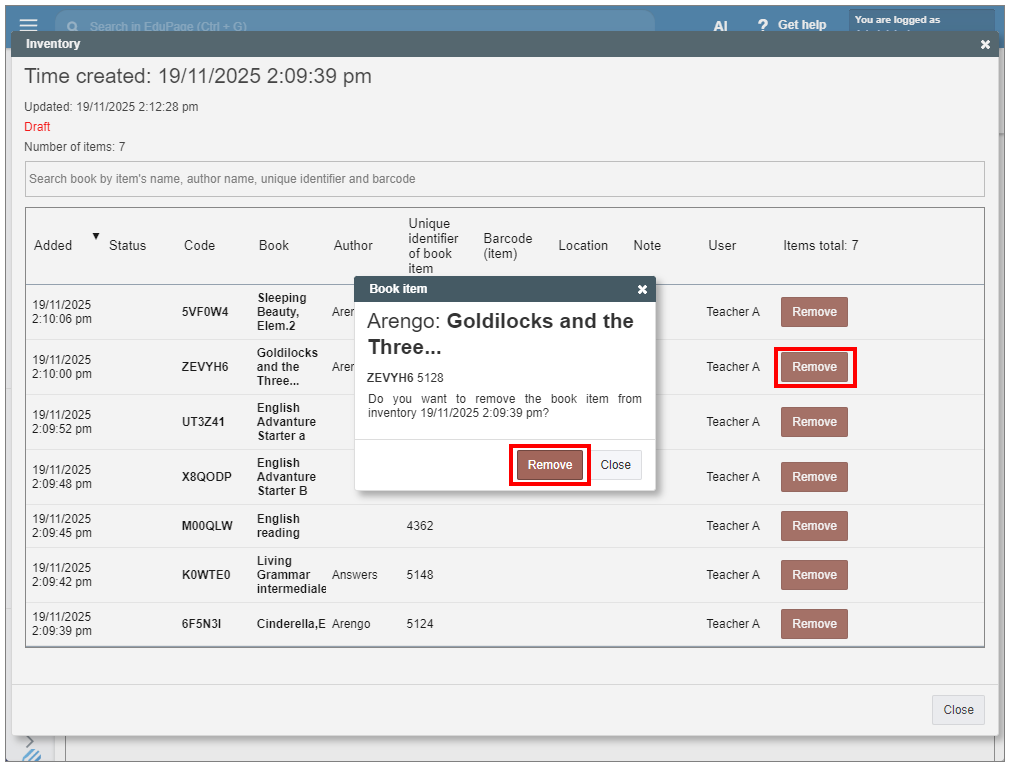
Please keep in mind that by removing the item from the record will permanently delete all information related to its inventory entry in that record. Removing an item from the inventory record does not affect the item in the library holding list.
Use the mobile application to create a new inventory record or to scan new items into an existing one.
In the main menu of the Library module select the “Inventories” tab. In the displayed window, choose the inventory record you want to open, or select “+” to create a new one. To scan a new item, select “Items” to enter the item list and click “Add” to start scanning.
The camera window will appear. Scan the desired items continuously. Items already recorded in the list will be recognized and will not be added twice.
You can interrupt and resume the inventory process at any time. The inventory record displays both the creation date and the date of the most recent change.
After finishing the process, you may close the inventory record by clicking “Close”. Once closed, adding new items to the record will be blocked.
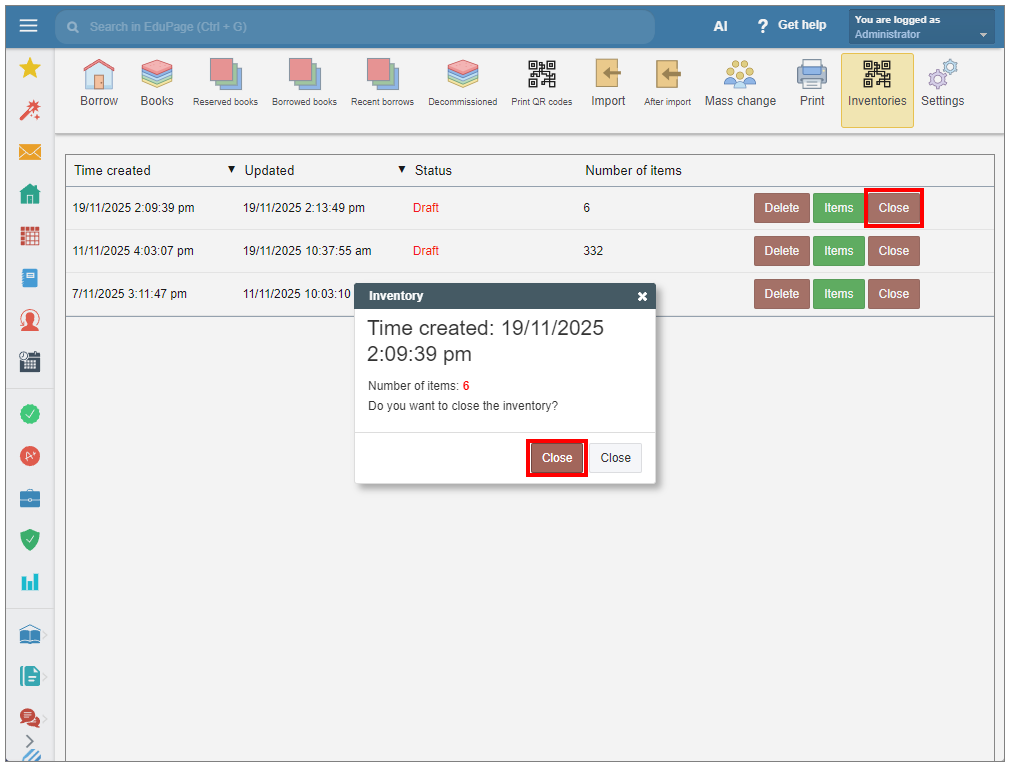
However, if needed, you can re-open the record by selecting “Open”, to add another item.
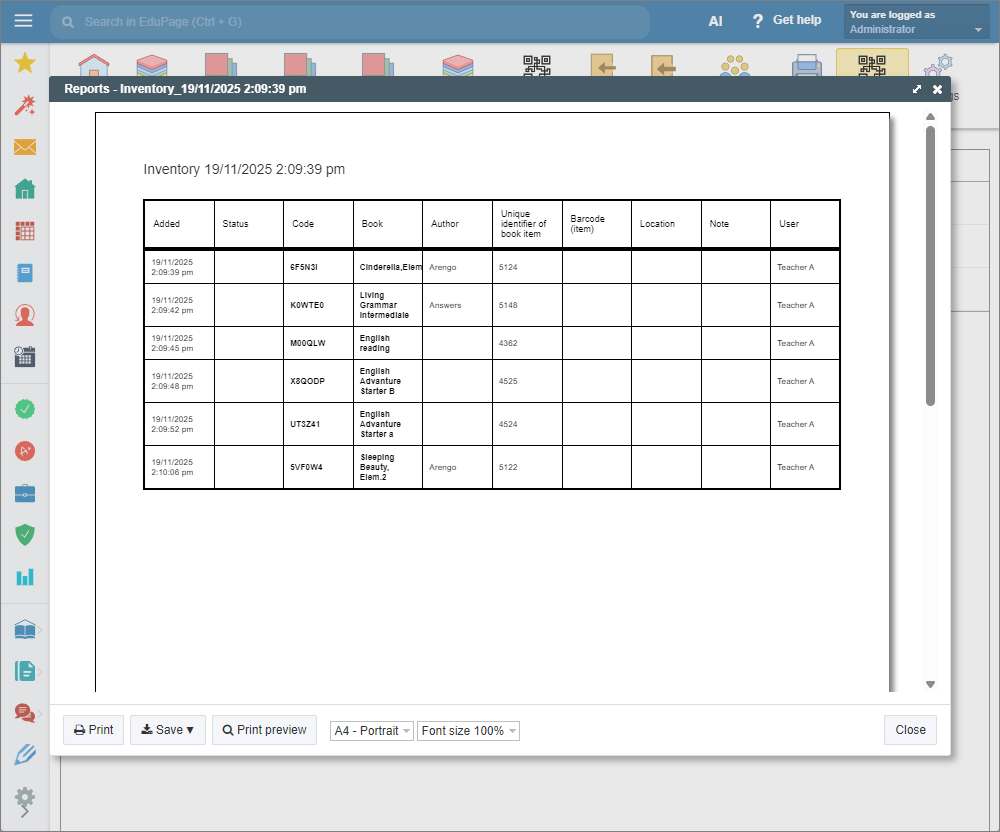
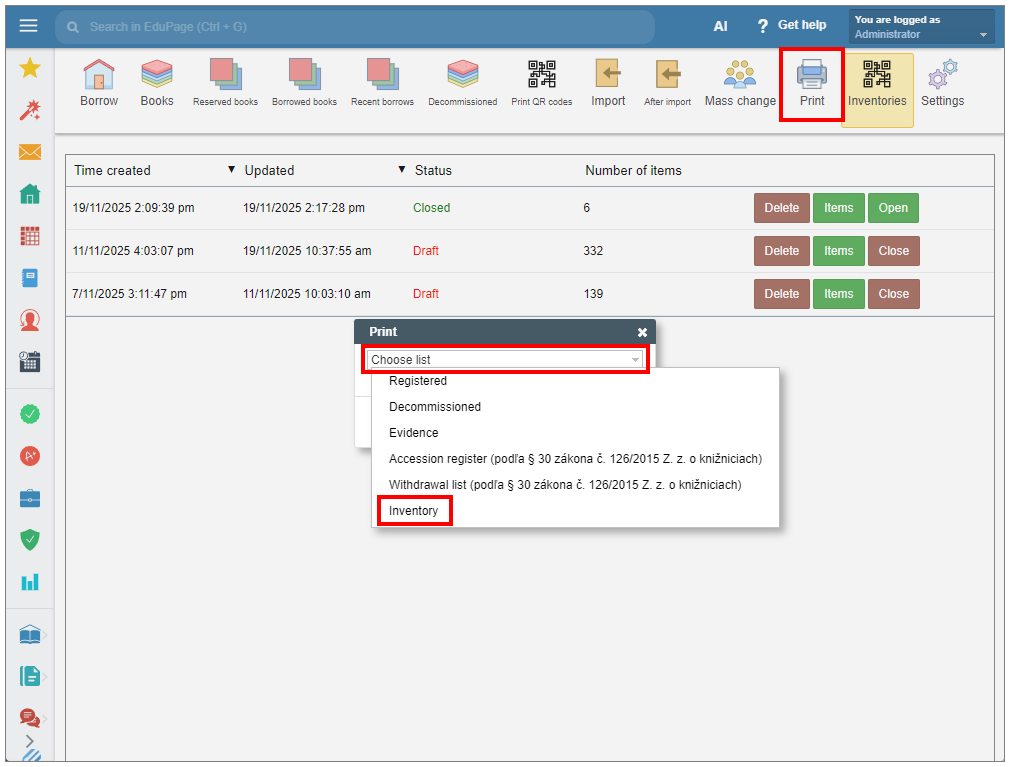
To print your inventory record, choose “Print” in the main menu. In the “Choose list” dialog, select “Inventory” from the dropdown menu.
Then select the desired inventory record from the “Inventory” dropdown menu and confirm with “Show”.
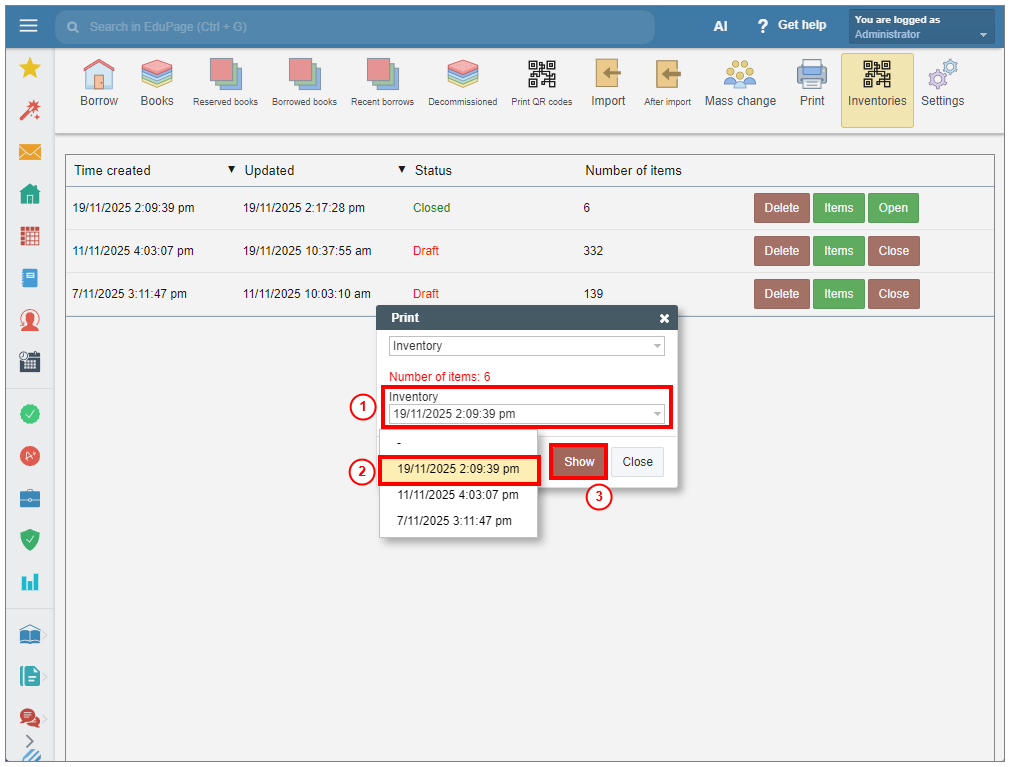
A preview of the selected record will be displayed. Choose the option to print or save it as a .pdf or .html file.